ICE/BLK
Getting Started with Matrix
Getting started with Matrix is made simple with the help of bot commands implemented by ICE/BLK Staff! This guide will help you navigate the process from, and if you have any questions, please reach out to the ICE/BLK Matrix team. We will be happy to help!
- Use command
/matrixin any ICE/BLK text channel to generate your Registration Token. This token is unique to your user. Please do not share this token, it is one-use only. - Click the link in the bot response, iceblk.club. This page will provide information on what Matrix is, and why we’ve chosen to move forward with it.
From here, you will need to set up a Matrix client, which you will be using as your main UI for interacting with people on Matrix.
With Matrix you have a free choice between any Matrix client, the client decides what your UI will ook like and how you interact with certain parts of Matrix.
We as the ICE/BLK Matrix team currently support the following apps:
- Cinny: A more discord-like client (Website)
- Element (X): A more whatsapp-like client (Website, Desktop & Phone)
Account Setup
Cinny
- Go to cinny.iceblk.club
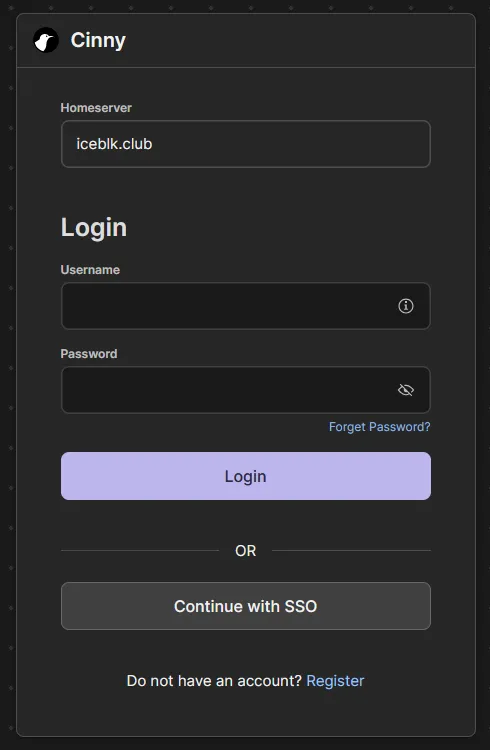
- Click Register
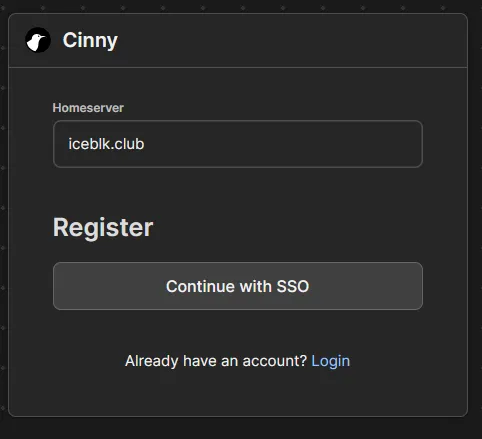
- Click Continue with SSO and enter your desired username, and a strong password.
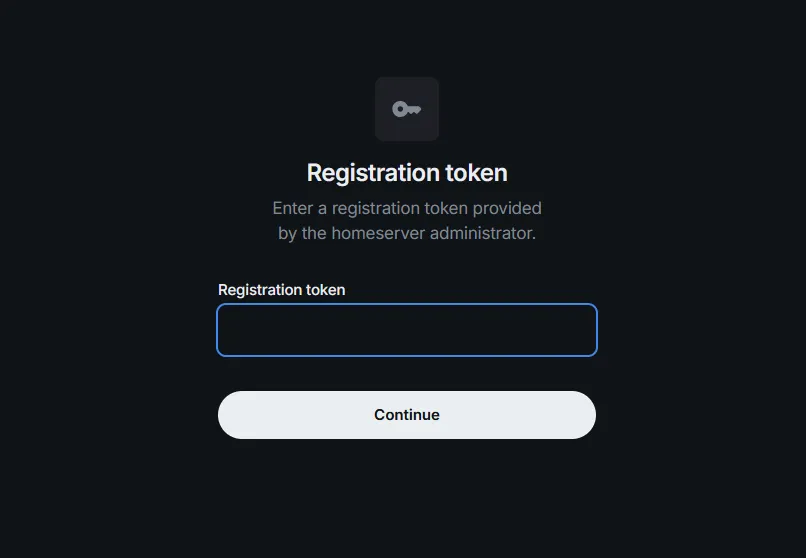
- You will be asked for your registration token on the next page. Paste the token provided to you by the Discord bot.
- Enter your desired Display Name, then click Continue to finalize the setup.
- Click the continue button to go to your Matrix client.
If you want to you can use Cinny as a desktop-app by clicking the Install or
button in the address bar And then responding to the notification Windows gives you to pin it to your task bar
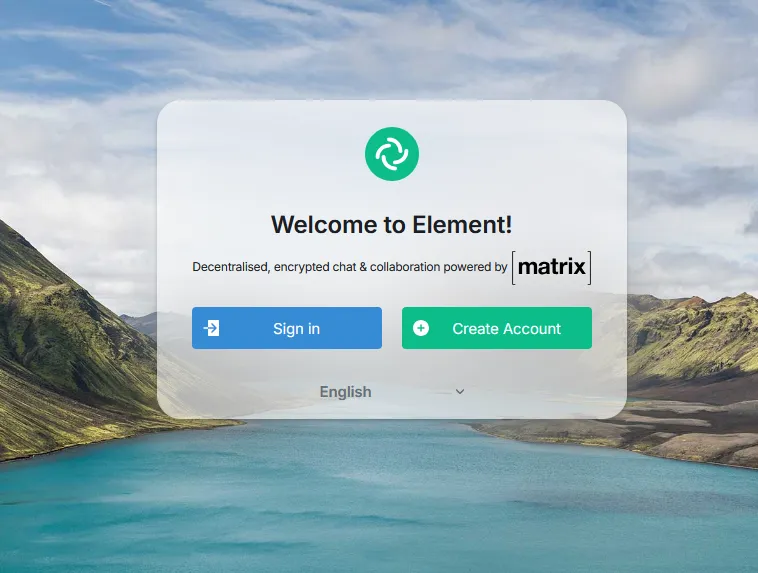
Element
In either the Browser, or in your desktop client:
- Click Create Account
- Ensure the ‘Host Account On’ field is set to
iceblk.club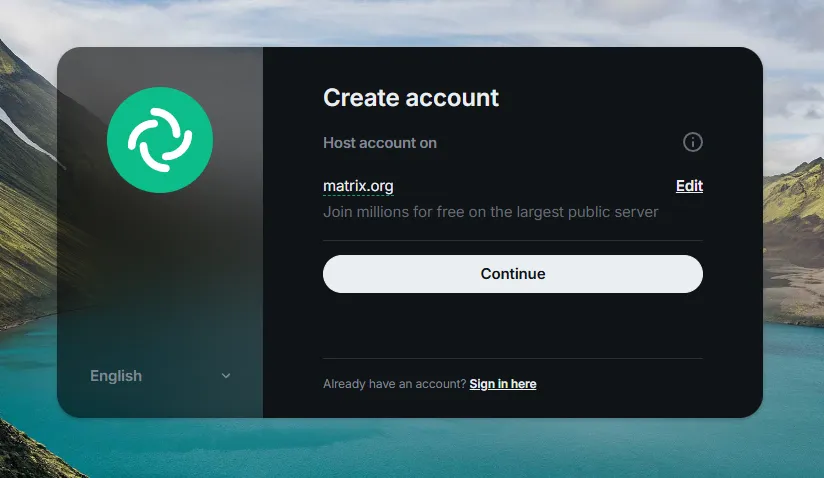
- If it isn’t (like above) use the Edit link and change it to
iceblk.club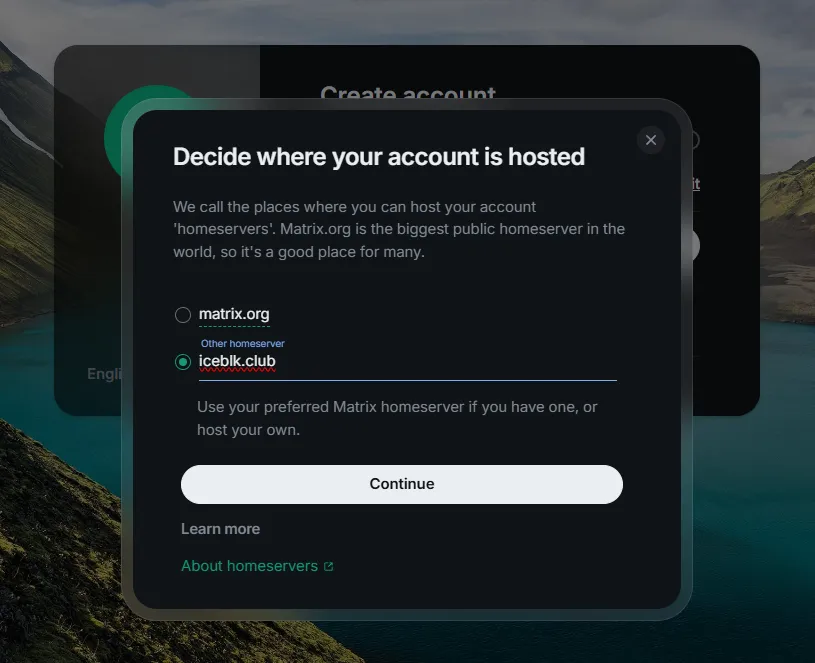
- Click Continue and enter your desired username, and a strong password.
- You will be asked for your registration token on the next page. Paste the token provided to you by the Discord bot.
- Enter your desired Display Name, then click Continue to finalize the setup.
- Click the continue button to go to your Matrix client.
You are now logged in to your new Matrix account.
Recovery Key
To aid in recovering your account and encryption keys for DMs you’ll want to setup a recovery key and Device Verification.
Cinny
Set up your Recover Key by going to Profile picture (lower-left) > Devices
- Click on the Enable button next to Device Verification
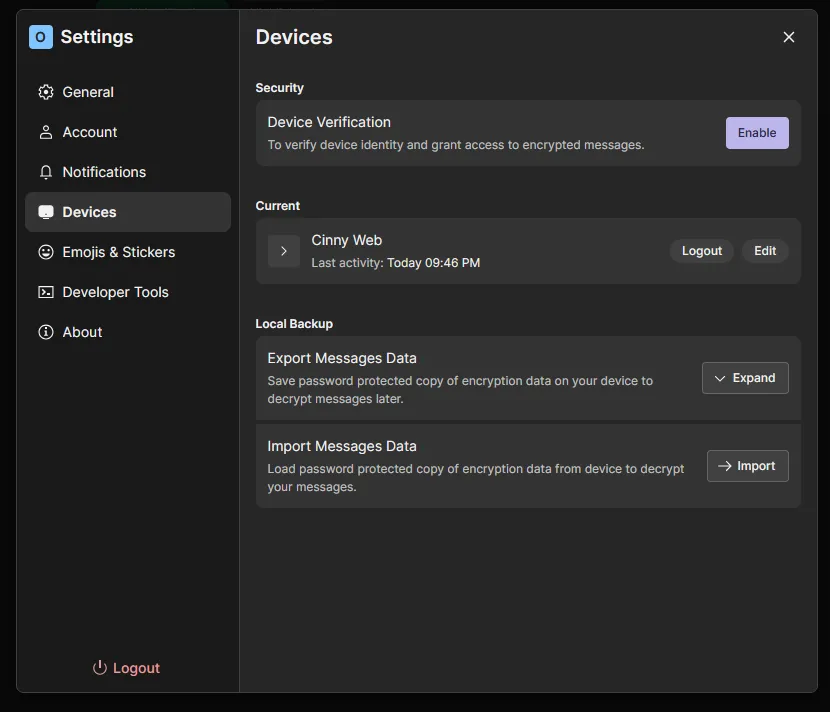
- Leave the Passphrase empty and click Continue
- Copy the provided key to a safe spot on your computer and/or into your password manager.
- You can click the X to leave the window after you’ve safely stored your recovery keys somewhere
Element
Set up your Recovery Key by going to Settings > All Settings > Encryption.
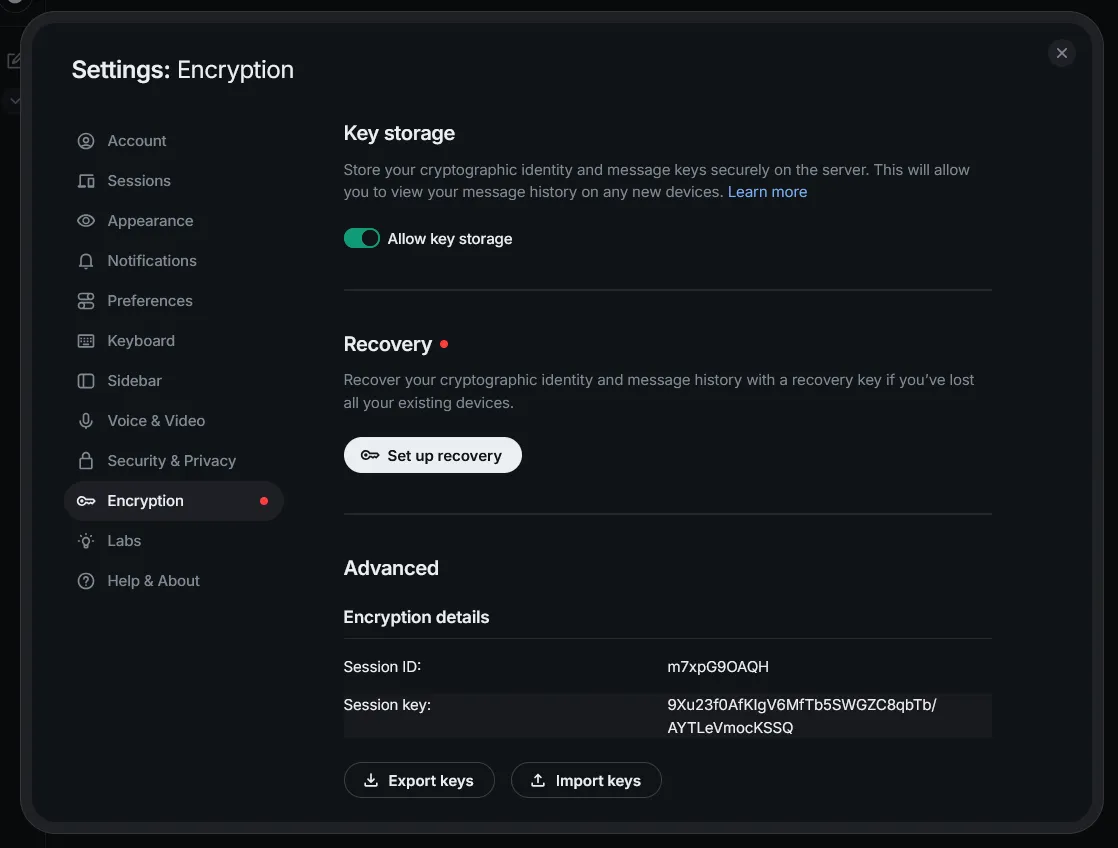
‘Click Set up recovery’ and save the key somewhere safe on your computer and/or password manager. You will need this code to restore your account if you ever lose it, or sometimes verify your login on different devices.
Joining the ICE/BLK space
Spaces on matrix are very similar to servers on discord.
To join the ICE/BLK space, use the /invite command in the ICE/BLK discord with your Matrix ID .
If you used the same username on matrix as on discord you might need to put a \ in front of your Matrix ID
in the command to prevent discord from turning it into a mention.
Verification
To share encryption keys between devices and provide a bit of extra security, when you sign in to a client you need to verify it with one of your other already signed-in clients. If you don’t verify devices with each other you’ll have difficulties reading encrypted messages.
Generally you’ll get a prompt on your other devices to verify the new device, the instructions below are for when this fails.
When signing in two clients on the same pc we recommend having the two windows open side-by-side, clicking outside the verification windows will abort the process
To start the verification process, go to Settings > All Settings > Sessions/Devices on an already verified client.
- Find the unverified device in the list and click Verify
- Accept the verification request on the unverified client
- Start the verification on the already verified client
- Both windows will show a set of emojis.
- Make sure both sets match, then click ‘They Match’ on both windows.
Now both of your clients should be verified and you can securely read messages again.